
How To Diamond Paint (Instructions)
How To Diamond Paint (Instructions)
★★★
Diamond painting is similar to painting by number, except that instead of using paint, you are using tiny, flat-backed rhinestones, crystals, or diamonds. The process can look intimidating, but it is actually quite simple. Once you know what to do, you can find the project both relaxing and rewarding.
Here’s a video of the process. you can find the exact steps below the video:
The Steps:
Setting Up the Canvas

1. Purchase a diamond painting kit. You can pick your favorite kit in our store. Our kits contain the following: a pre-printed canvas, flat-backed diamonds, a tray, a pen-like tool, and a packet of wax.
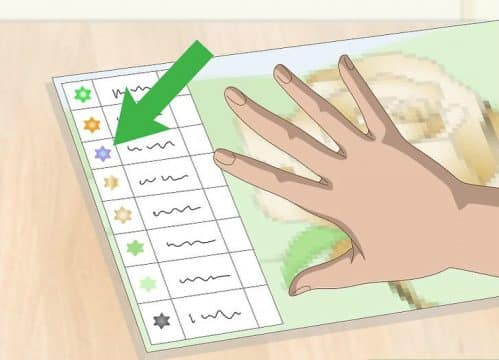
2. Understand how to read the canvas. The canvas is composed of tiny boxes that are colored and labeled with numbers, much like a cross-stitch canvas. Each number corresponds to a diamond color. The numbers are written on a chart, with the corresponding bag and diamond color written below or next to it. The chart is typically printed on the side of the canvas.
- Some squares may contain a letter or symbol instead; treat this as a number.
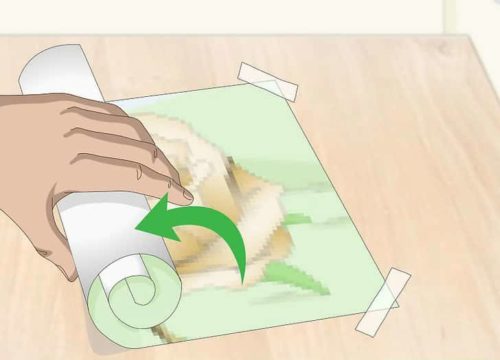
3. Unroll the canvas and tape it down onto a flat surface. If the canvas won’t lay flat, roll it back the other way, then unroll it. Spread it down onto a flat surface, then secure the edges with masking tape.
- This project can be time consuming. Consider taping the canvas to a board, which you can move out of the way easily.
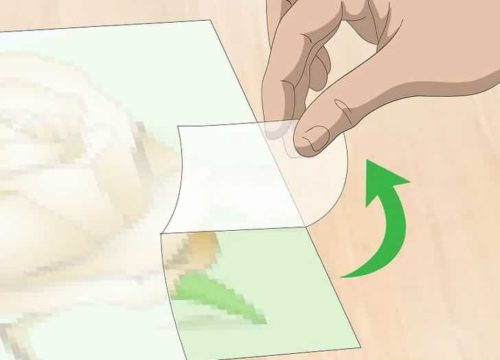
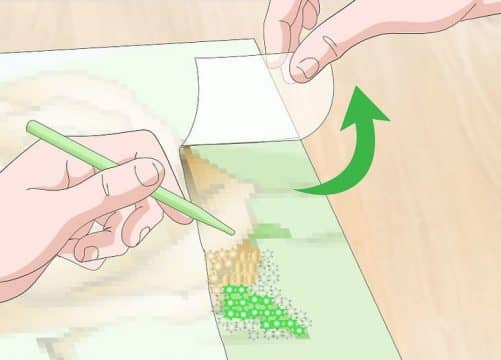
4. Peel back part of the plastic covering on the canvas. Do not peel all of the plastic away; 1 to 2 inches(2.54 to 5.08 centimeters) will be plenty. Run your fingernail along the plastic to crease it so that it doesn’t roll forwards.
- Some kits come with pre-cut plastic strips. In this case, simply peel the first strip off.
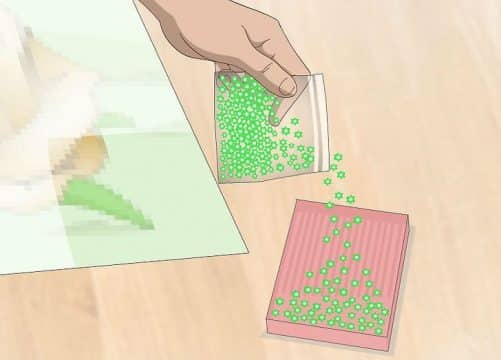
5. Pour out your first crystal color into the tray. Take a look at the patch of canvas you just exposed. Choose a box to start with, and note the number in it. Look the number up on the chart, then find the bag with the same number. Open up the bag, and pour out some of the crystals onto the tray that came with your kit.
- Some kits come with multiple trays. You can use the other trays for the other colors in that section.
Applying the Diamonds
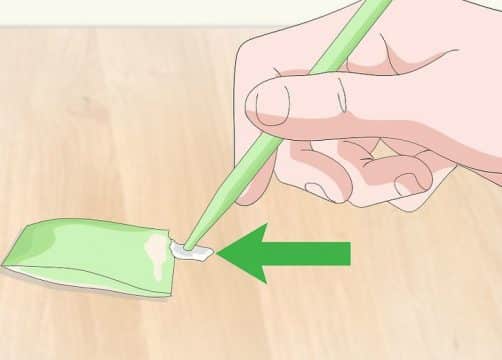
1. Dip your pen tool into the wax that came with your kit. Open up the packet of wax that came with your kit. Dip the narrow end of the pen into the wax to pick some up. This will make it possible for the pen to pick up the crystals.
- Some kits come with a special wax pencil that you have to sharpen instead. In this case, sharpen the pencil using a pencil sharpener.
- Some pens will have a wide end too, which you can use to pick up to three crystals at one time.
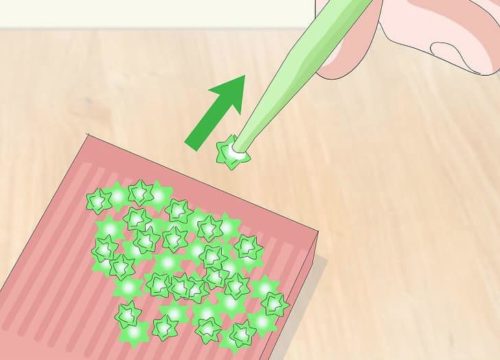
2. Use the pen to pick up a crystal. Gently press the tip of the pen against the top, faceted part of the crystal. Lift the pen away from the tray; the crystal should be stuck to it.
- Keep the tray just below the edge of your canvas; this will make it easier to access.
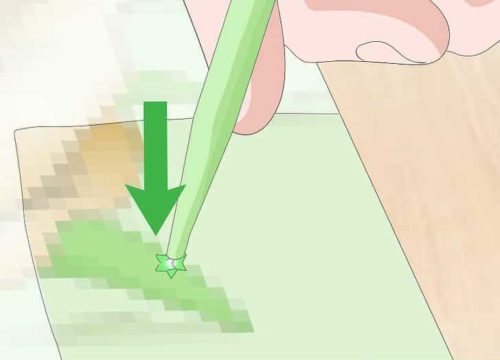
3. Gently press the crystal against the corresponding square. Pull the pen away; the crystal should be stuck against the canvas. If you are just starting out, it might be a good idea to press lightly at first. This way, if the crystal is off-set, you can nudge it back into place, then press down on it to secure it.
- This is exactly like painting by number, except that you are using crystals instead.
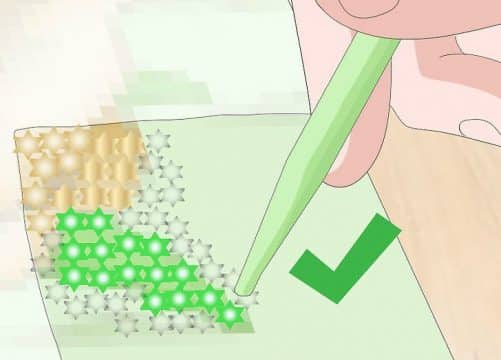
4. Fill the rest of the squares in that section. Work one color at a time and refill the pen with gel as needed. When you finish filling in all the squares with the same number code, move onto the next color. This will help you work faster and stay organized.
- Avoid resting your hand against the canvas; the more you touch the sticky surface, the less tacky it will become.
5. Peel away more of the plastic covering, and fill in more squares. Continue filling the canvas in using the same technique as before. Work in 1 to 2-inch (2.54 to 5.08-centimeter) wide sections, one color at a time. When you completely fill in a section, move onto the next one.
- Do not peel the entire plastic covering away, or the adhesive on the canvas will get dirty and lose its tack.
Finishing Your Work
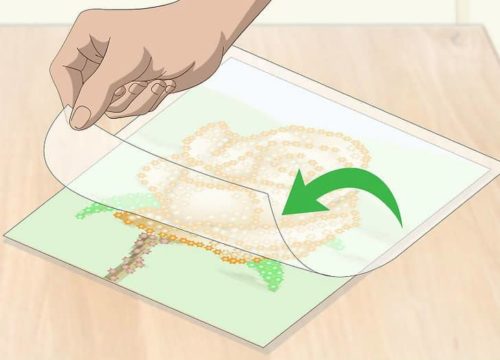
1. Cover the canvas with the plastic sheet that it came with. If you discarded the sheet, you can cover it with a piece of paper or parchment paper; avoid using wax paper.
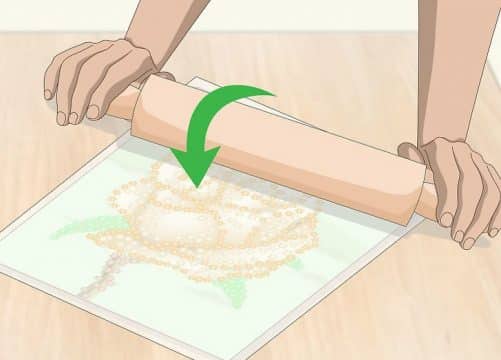
2. Go over the canvas with a rolling pin. This will press down any loose diamonds and secure them. If you don’t have a rolling pin, you can use a can or jar instead. You can also gently rub the canvas with your hands instead.
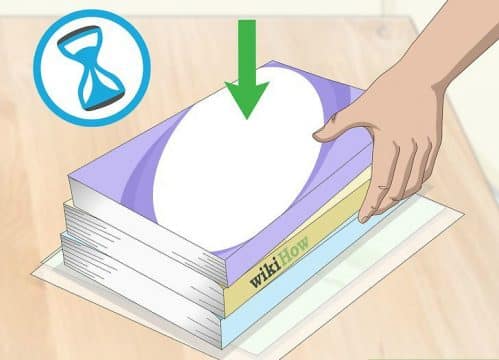
3. Stack some heavy books on top of the canvas overnight. This will help further adhere the diamonds to the canvas and ensure that they bond properly. If you don’t have any books large enough to cover the canvas, you can use another flat, heavy object, such as a box or cutting board.
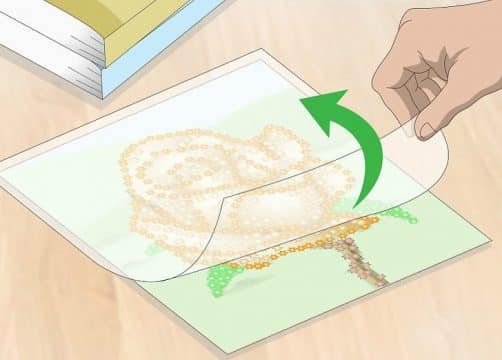
4. Peel the tape away. Lift the books off first, then peel the plastic covering off. Peel the tape from the corners of the canvas. Do not trim the excess canvas way, as this may cause the fabric to fray.
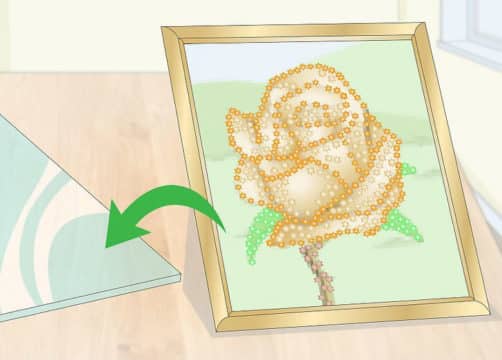
5. Frame the canvas. Remove the glass from the frame first, then insert the canvas into the frame. Fold the excess edges down, then place the backing into place. Leave the glass out, as it will only dull down the diamonds’ sparkle.
- For a fancier touch, place the canvas behind a mat first; this will give the canvas an additional border within the frame. Choose a color that complements the diamonds.
Tips
- Place the crystals into pill boxes; make sure that they are arranged in numerical order.
- Write the box number on the corresponding diamond bag. This way, you won’t have to keep cross-referencing to the code chart.
- Take a moment to flip the diamonds so that they are all right-side-up. This will make it faster to pick them up in the long run.
- Cover your work with the plastic sheeting whenever you take a break. This will protect the diamonds and any uncovered patches of the canvas.
- Wrap the pen tool with plastic wrap and cover the gel/wax whenever you take a break. This will keep it from drying out.
- If you lose the pen tool, or if the gel/wax dries out, you can use a rhinestone applicator instead. You can find them alongside the nail polish and nail art supplies in beauty supply stores and well-stocked supermarkets.
- Clean the canvas with a cool, damp cloth. Do not scrub it.
Warnings
- Do not clean the canvas in the washer/drier. Do not iron it.
- Don’t remove the plastic covering all at once, or the glue on the canvas will get dirty and lose its stickiness.
Things You’ll Need
- Diamond painting kit
- Masking tape
- Rolling pin (optional)
- Heavy books